
Kubernetes Series - Create a Spring Boot Project
If you have any questions or encounter any issues, feel free to leave a comment below! I’ll respond or update the content accordingly. “:)”
🚀 Table of Contents
- Create a Spring Boot Project
- Dockerize the Application
- ➡️ Deploy to Kubernetes (NodePort)
- Configure Ingress Routing
- Install Local GitLab
- Connect Git to GitLab
- Install ArgoCD
- Create ArgoCD Application
- Setup GitOps Flow
- Setup GitLab Runner
- Auto Image Tag & Sync
☸️ Step 3: Deploy to Kubernetes (NodePort)
In this step, we will deploy our Spring Boot Docker application to a Kubernetes cluster using a simple NodePort Service.
🐳 3.0 Load the Image into Minikube
Now load the image into the Minikube Docker environment:
minikube image load k8sdemo:latest
📁 3.1 Create Deployment YAML
Create a file called k8s/app-deployment.yaml:
apiVersion: apps/v1
kind: Deployment
metadata:
  name: k8sdemo
spec:
  replicas: 1
  selector:
    matchLabels:
      app: k8sdemo
  template:
    metadata:
      labels:
        app: k8sdemo
    spec:
      containers:
        - name: k8sdemo
          image: k8sdemo:latest
          imagePullPolicy: IfNotPresent
          ports:
            - containerPort: 8080
🌐 3.2 Create NodePort Service
Create a file called k8s/app-service.yaml:
apiVersion: v1
kind: Service
metadata:
  name: k8sdemo
spec:
  type: NodePort
  selector:
    app: k8sdemo
  ports:
    - protocol: TCP
      port: 8080
      targetPort: 8080
      nodePort: 30080
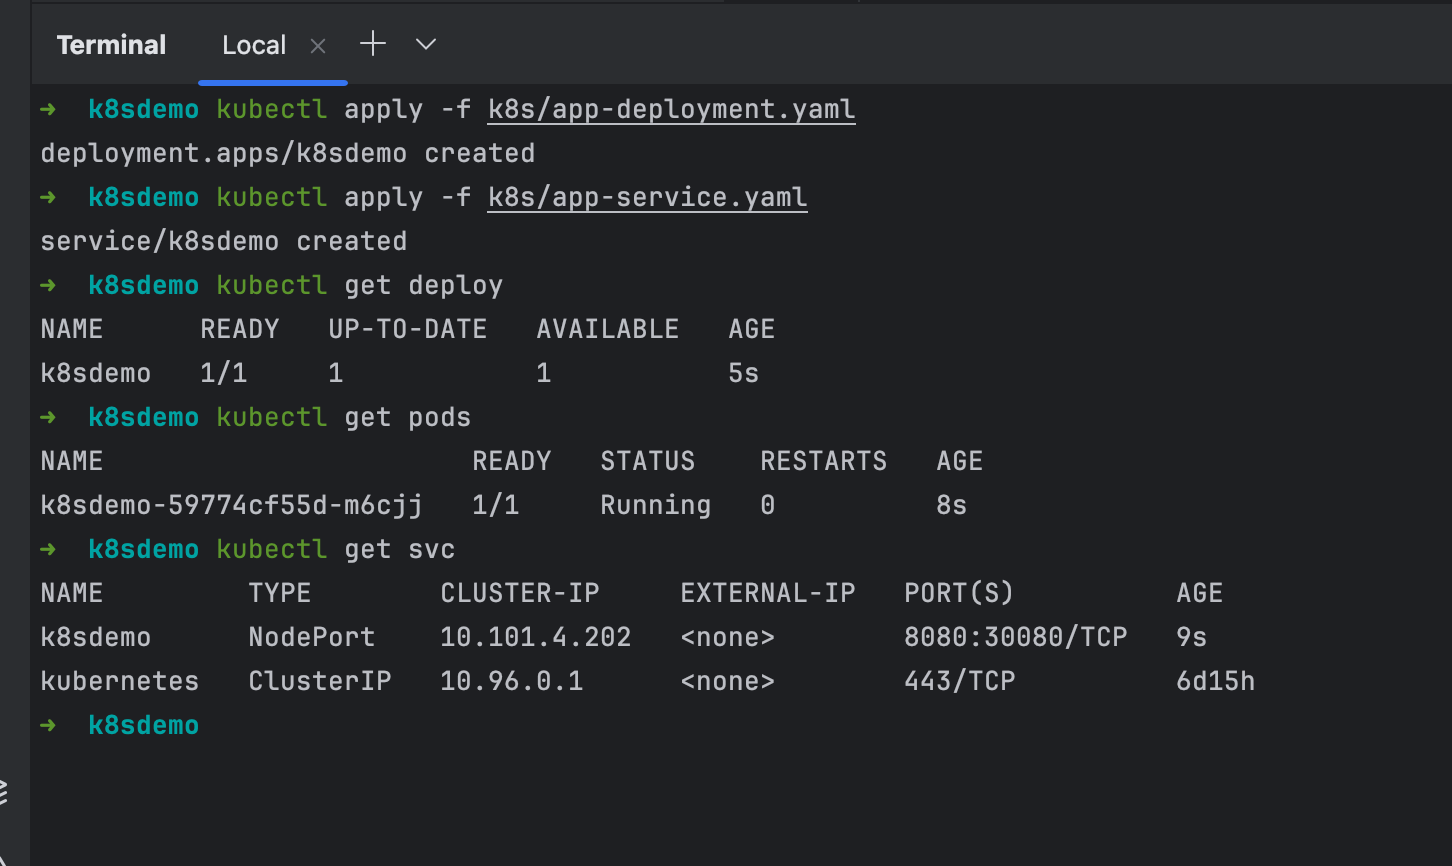
📦 3.3 Apply to Kubernetes
kubectl apply -f k8s/app-deployment.yaml
kubectl apply -f k8s/app-service.yaml
🔍 3.4 Check Resources
kubectl get deploy
kubectl get pods
kubectl get svc
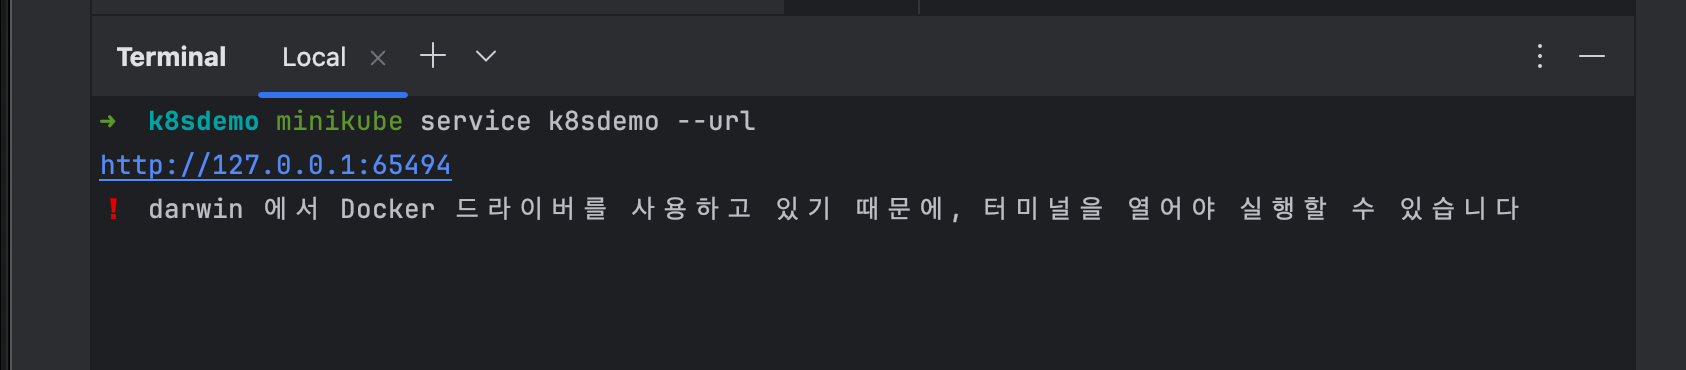
🔗 3.5 Access the Application
To access the application using Minikube:
minikube service k8sdemo --url
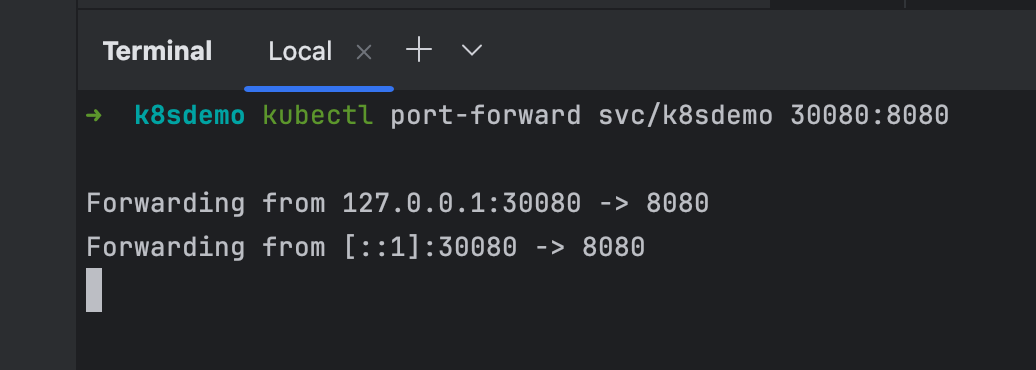
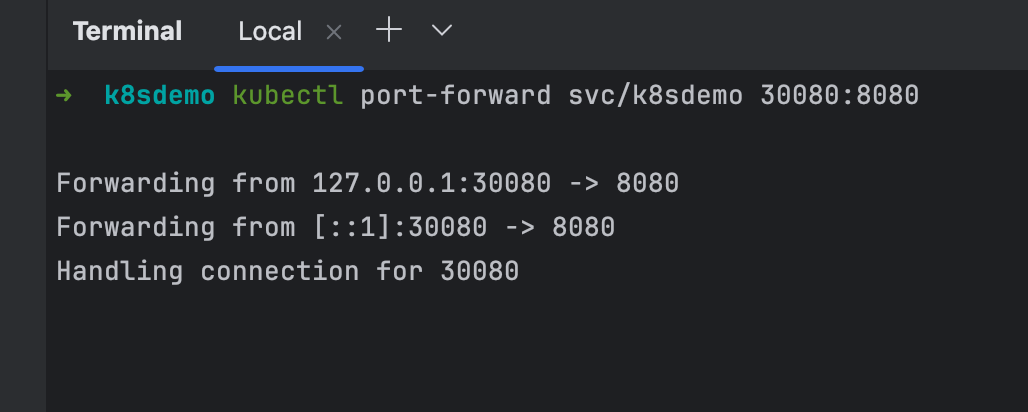
Or, for local testing via port-forward:
kubectl port-forward svc/k8sdemo 30080:8080
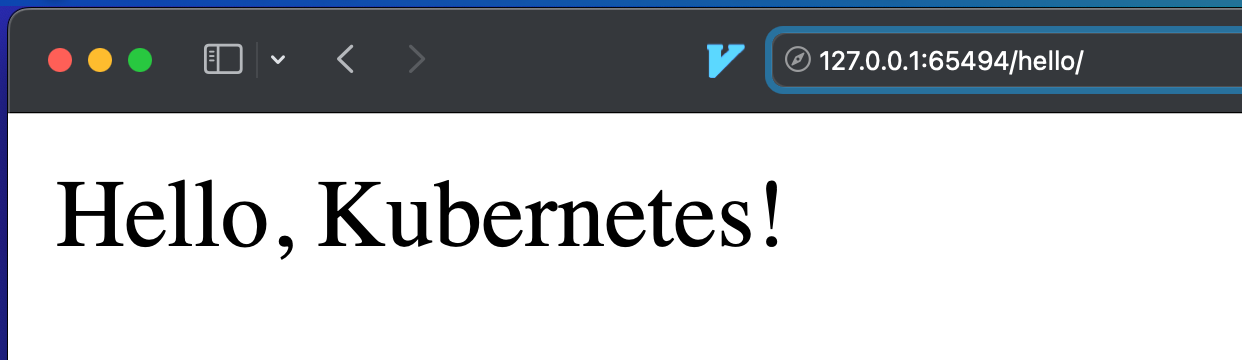
Then, access the app to http://localhost:30080/hello

You should see the response from /hello endpoint:
✅ You’ve now successfully deployed your Spring Boot app to Kubernetes using NodePort!
댓글남기기