
Kubernetes Series - Dockerize the Application
If you have any questions or encounter any issues, feel free to leave a comment below!
I’ll respond or update the content accordingly. “:)”
🚀 Table of Contents
- Create a Spring Boot Project
- ➡️ Dockerize the Application
- Deploy to Kubernetes (NodePort)
- Configure Ingress Routing
- Install Local GitLab
- Connect Git to GitLab
- Install ArgoCD
- Create ArgoCD Application
- Setup GitOps Flow
- Setup GitLab Runner
- Auto Image Tag & Sync
🐳 Step 2: Dockerize the Spring Boot Application
Now that we have our Spring Boot application ready, let’s containerize it using Docker so that we can deploy it easily to Kubernetes.
🧾 2.1 Create a Dockerfile
Inside the root of your k8sdemo project, create a file named Dockerfile with the following content:
FROM eclipse-temurin:17-jdk => based on Max OS M1
FROM eclipse-temurin:17-jdk

WORKDIR /app

COPY target/k8sdemo-0.0.1-SNAPSHOT.jar app.jar

EXPOSE 8080

ENTRYPOINT ["java", "-jar", "app.jar"]
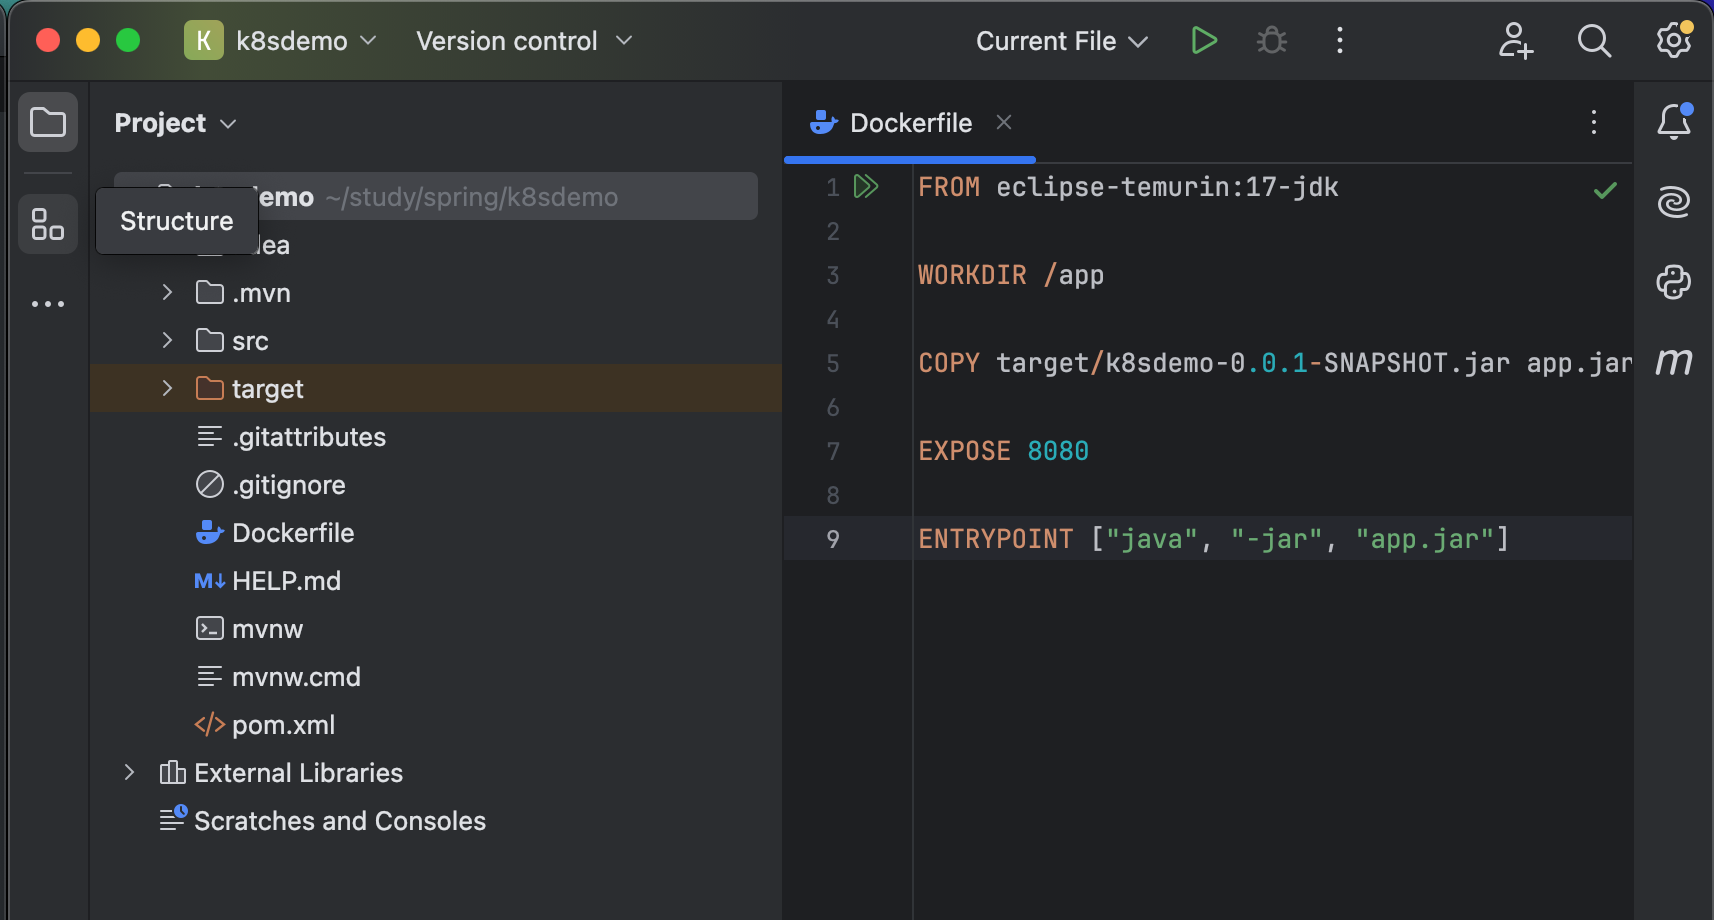
This Dockerfile does the following:
- Uses a lightweight JDK 17 image
- Copies the built JAR file into the image
- Exposes port
8080 - Runs the application with
java -jar
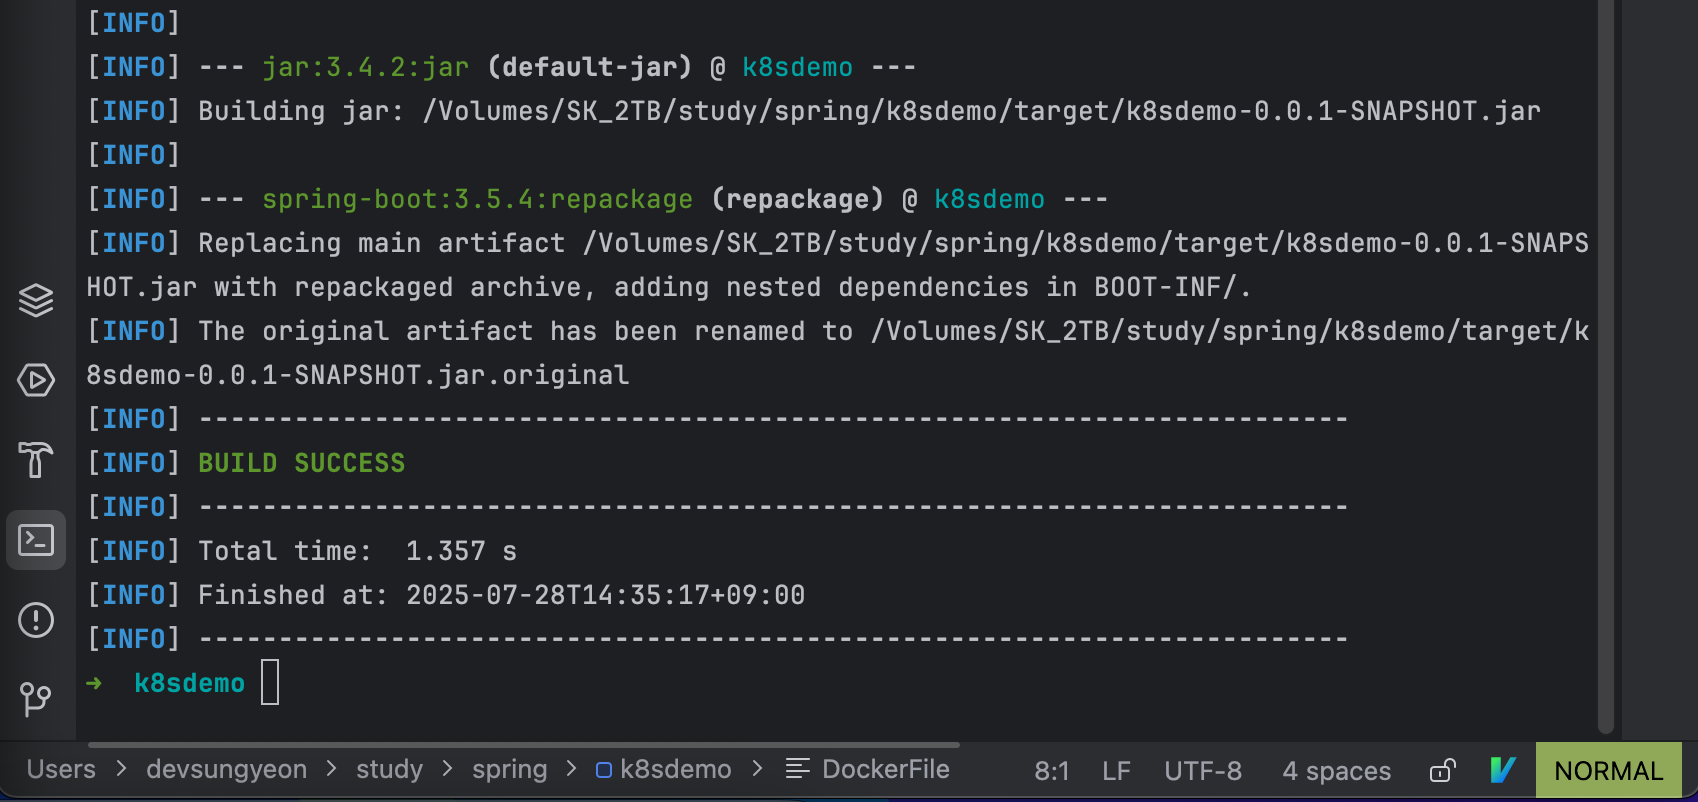
🧱 2.2 Build the JAR
In order to use the Dockerfile, you need to build your application JAR first:
./mvnw clean package -DskipTests
This will generate target/demo-0.0.1-SNAPSHOT.jar.

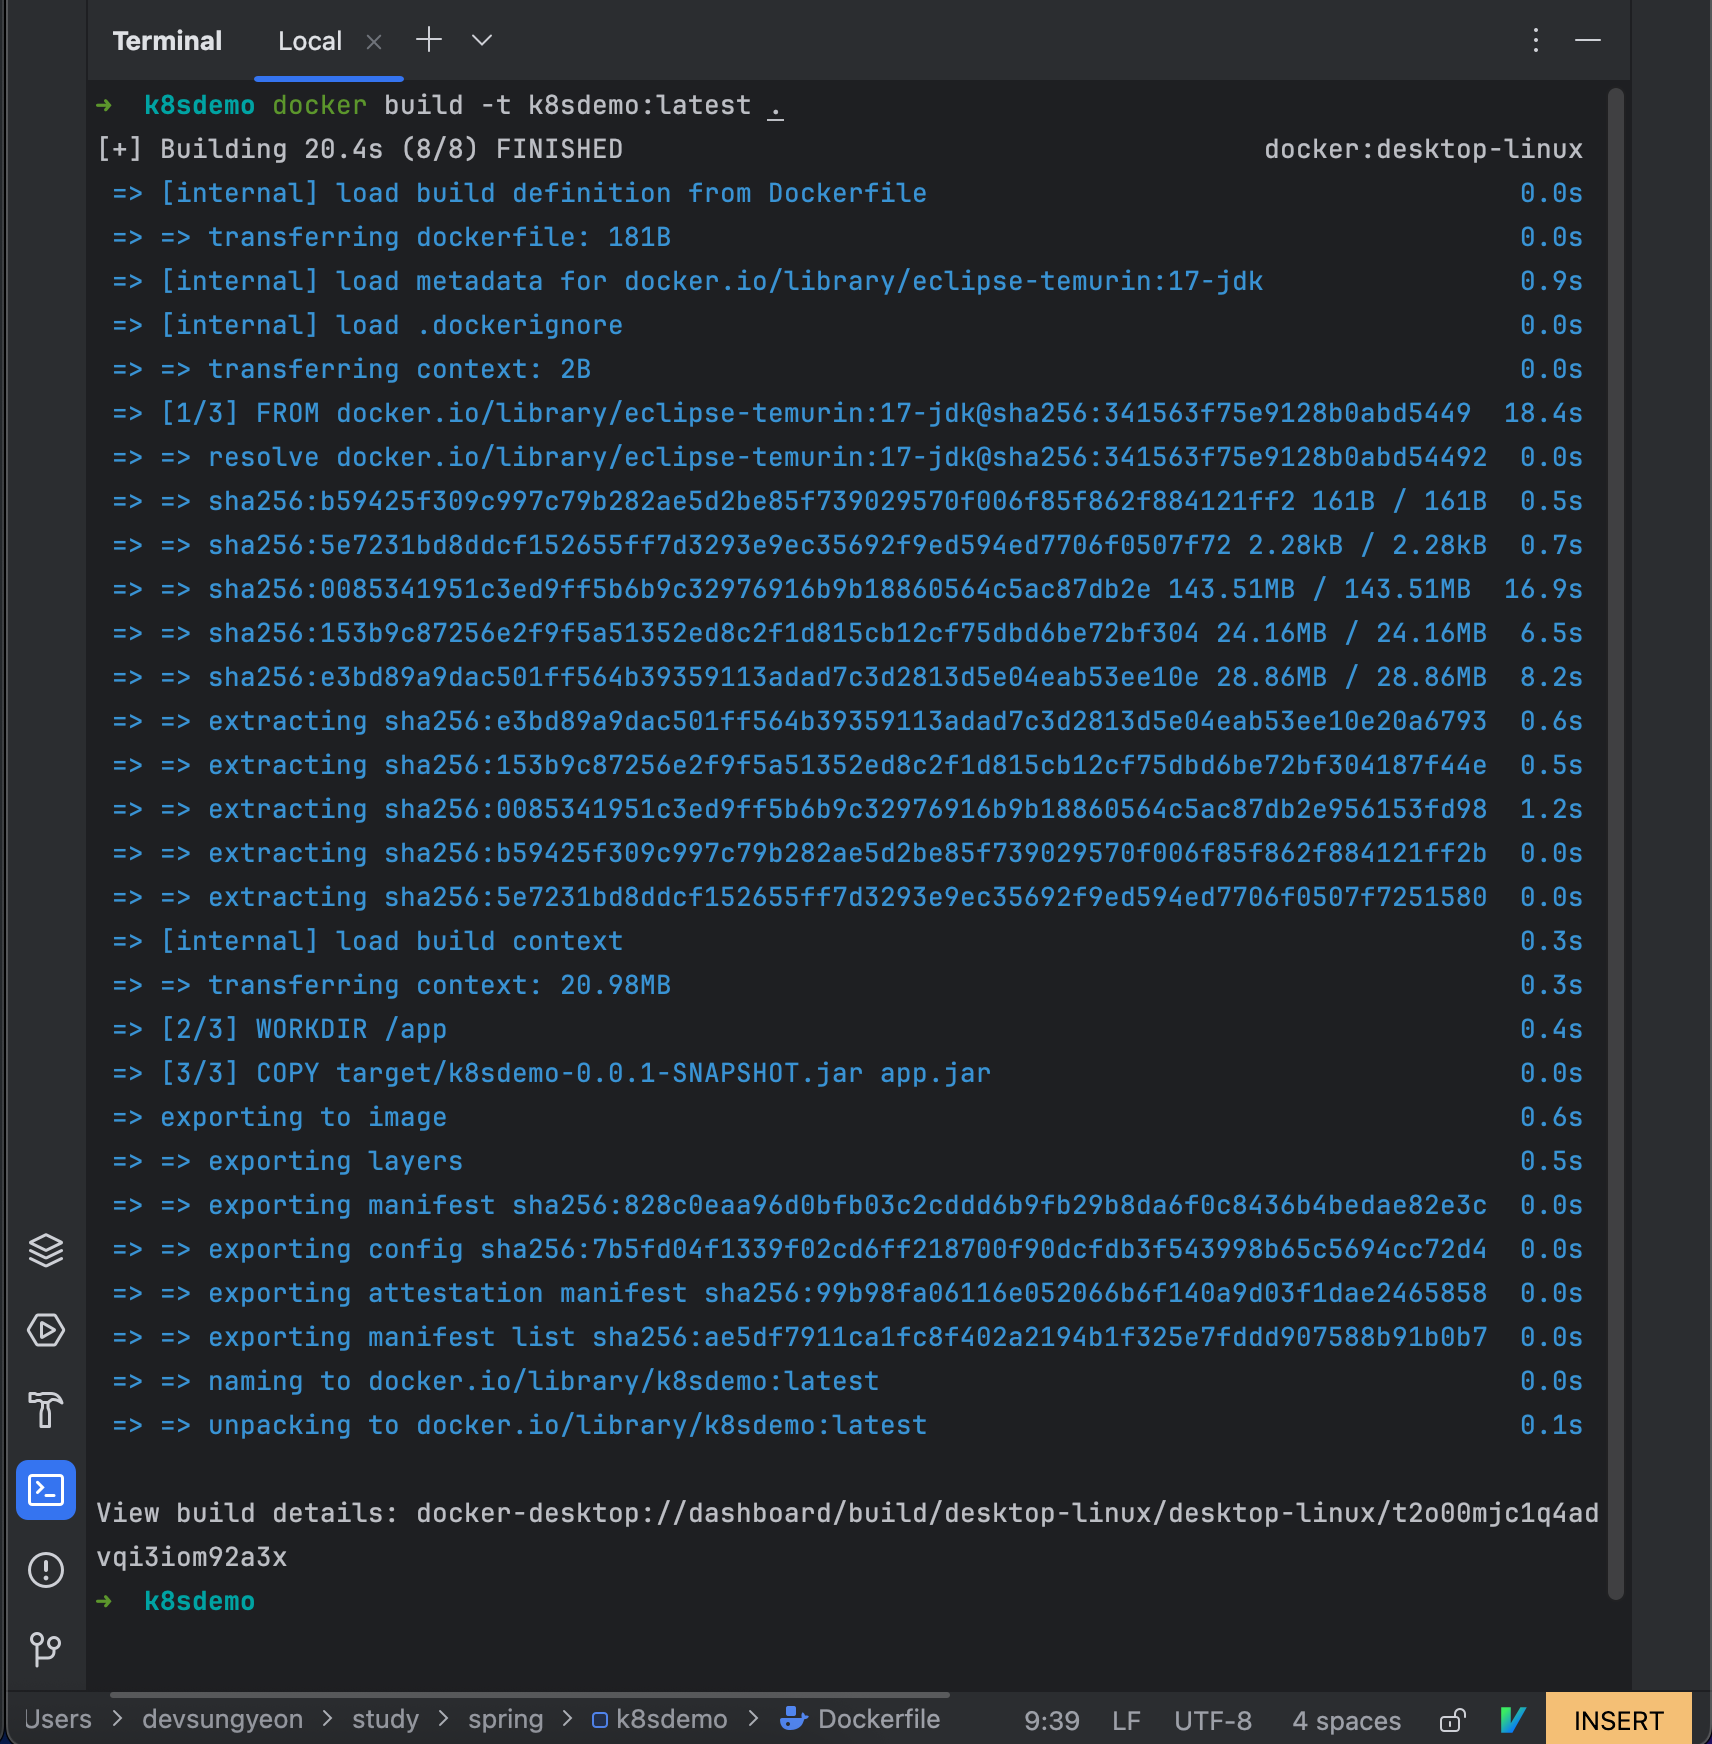
🐳 2.3 Build the Docker Image
Run the following command to build the Docker image:
docker build -t k8sdemo:latest .
Make sure you’re in the root directory of your project where the Dockerfile is located.
🧪 2.4 Test the Docker Image
To verify that the Docker image works correctly, run it locally:
docker run -p 8080:8080 k8sdemo:latest
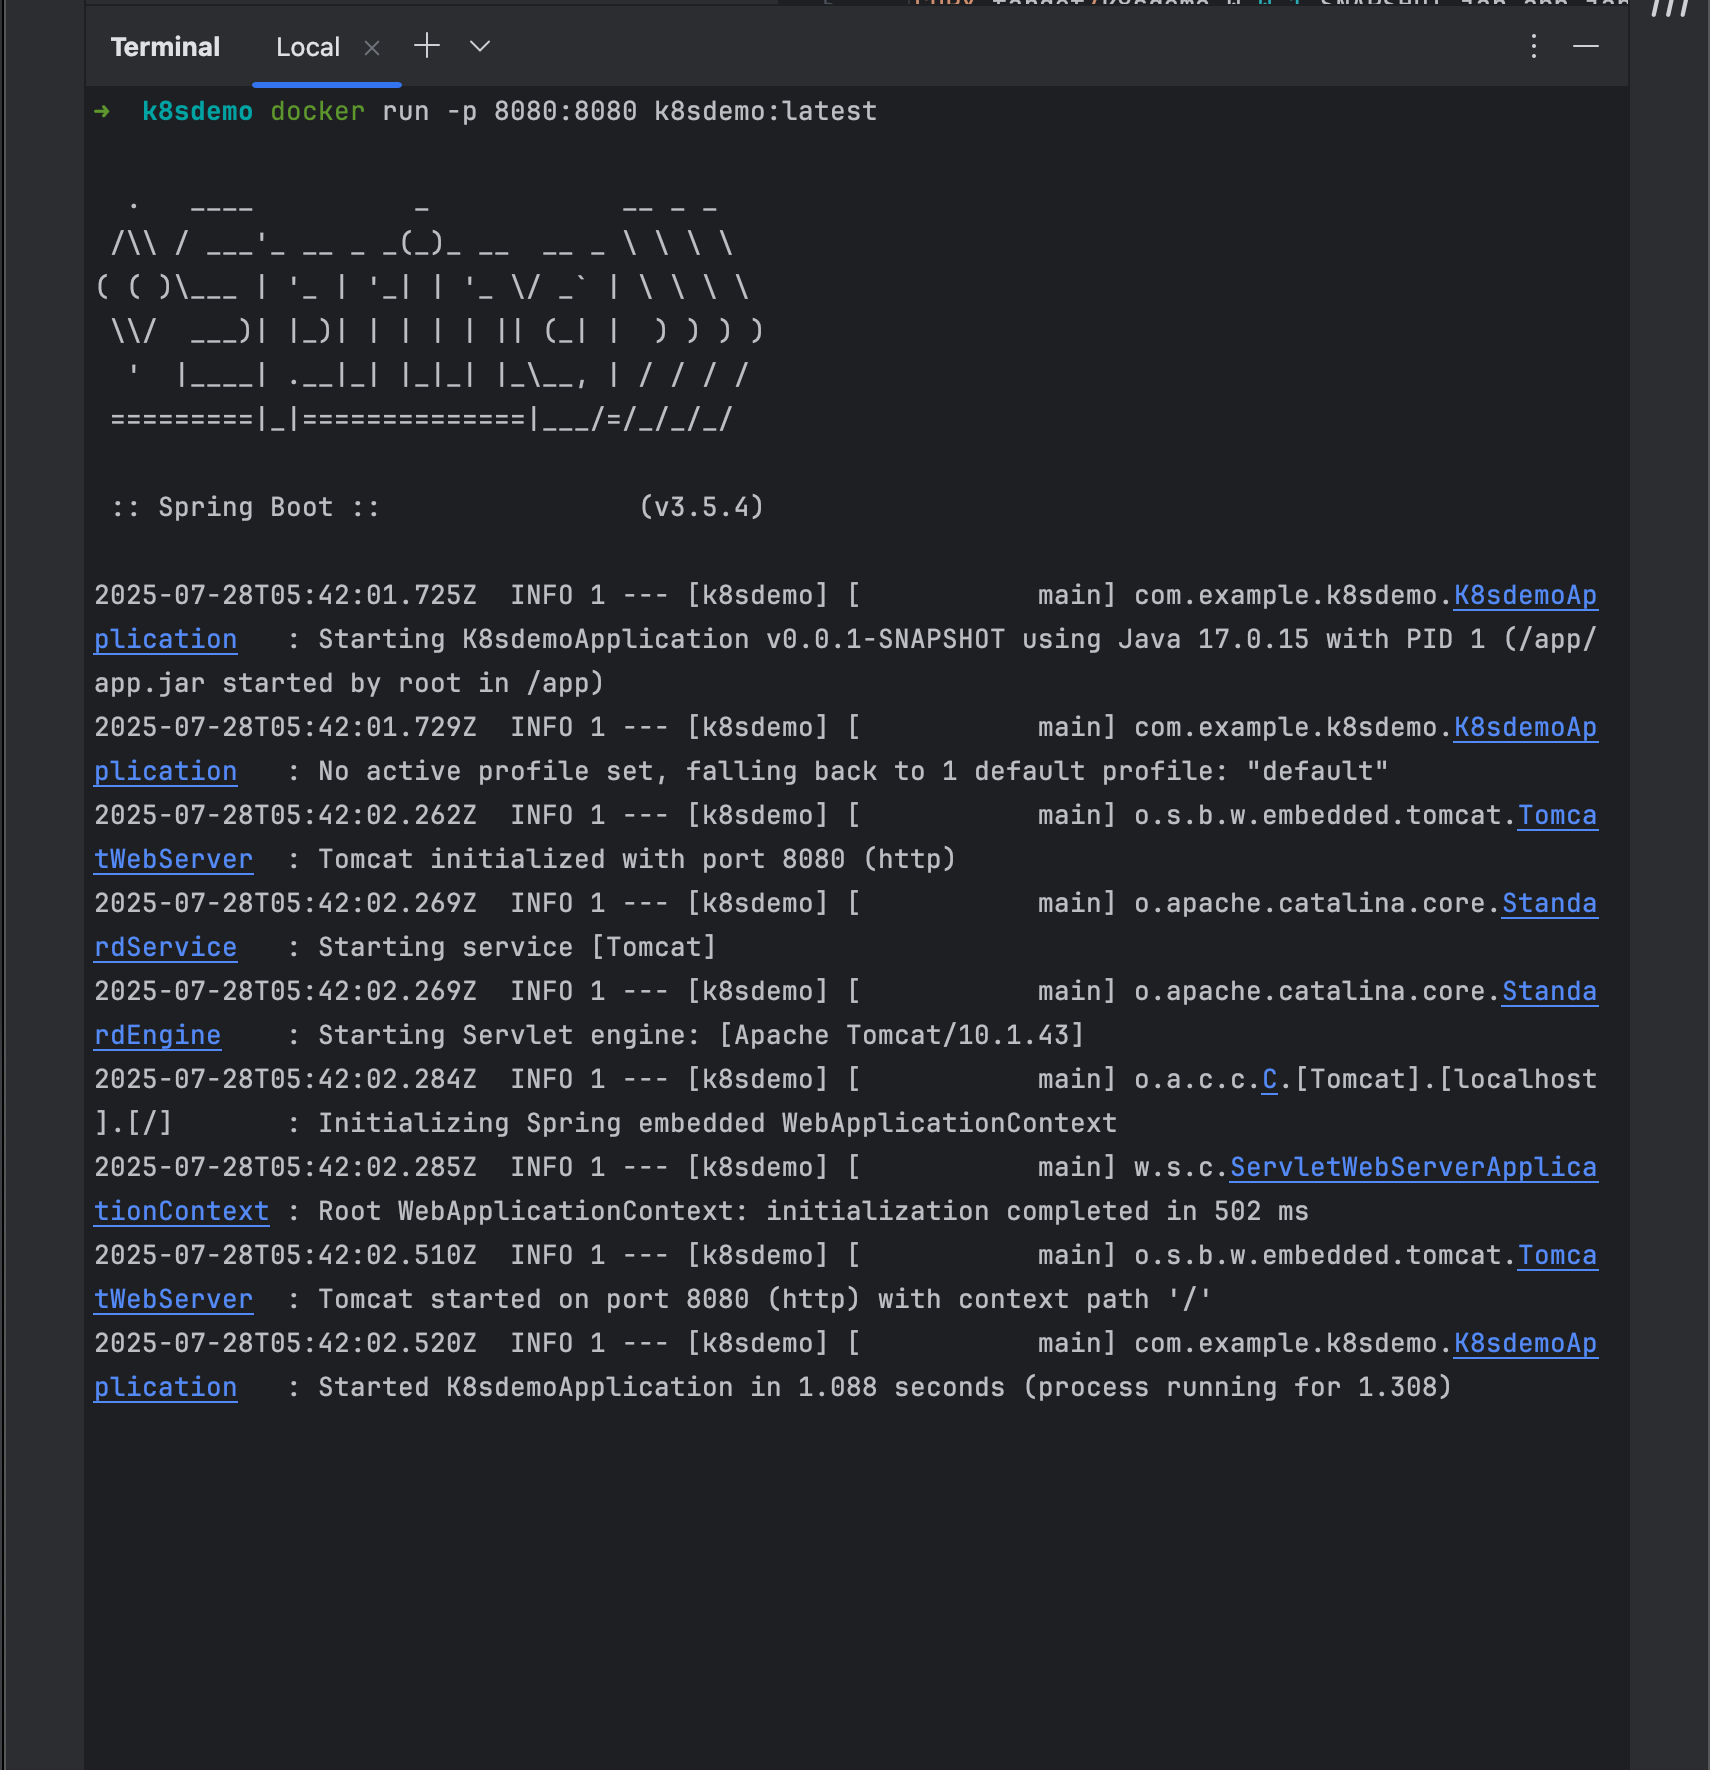
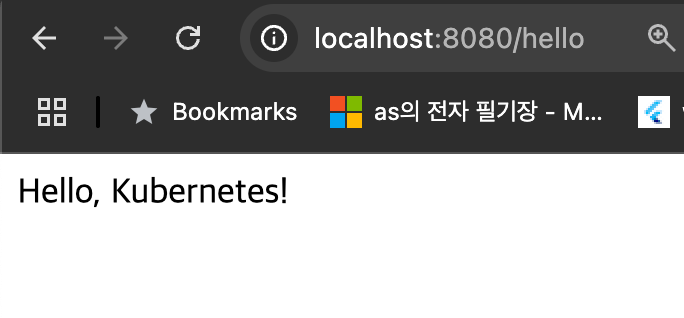
Open your browser or use curl to test the endpoint:
http://localhost:8080/hello
You should see the response from your Spring Boot application.
댓글남기기